Dobrodošli na Shandong Qilu Industrial Co., Ltd

 Slovenian
 English
 Arabic
 Bulgarian
 Bengali
 Czech
Czech
 Danish
 German
 Greek
Greek
 Spanish
 Finnish
 French
 Hindi
Hindi
 Croatian
 Hungarian
 Indonesian
 Italian
 Japanese
 Korean
 Lithuanian
 Dutch
Dutch
 Norwegian
 Polish
 Portuguese
 Romanian
 Russian
 Slovak
 Swedish
 Thai
Thai
 Turkish
 Ukrainian
 Vietnamese
 Tagalog
 Malay
Malay
 Estonian
 Catalan
 Latvian
 Urdu
Urdu
 Serbian
 Persian
 Swahili
 Albanian
 Armenian
 Icelandic
 Bosnian
 Luxembourgish
 Afrikaans
Slovenian English
Arabic
Bulgarian
Bengali
Czech
Danish
German
Greek
Spanish
Finnish
French
Hindi
Croatian
Hungarian
Indonesian
Italian
Japanese
Korean
Lithuanian
Dutch
Norwegian
Polish
Portuguese
Romanian
Russian
Slovak
Swedish
Thai
Turkish
Ukrainian
Vietnamese
Tagalog
Malay
Estonian
Catalan
Latvian
Urdu
Serbian
Persian
Swahili
Albanian
Armenian
Icelandic
Bosnian
Luxembourgish
Afrikaans
Afrikaans
Slovenian English
Arabic
Bulgarian
Bengali
Czech
Danish
German
Greek
Spanish
Finnish
French
Hindi
Croatian
Hungarian
Indonesian
Italian
Japanese
Korean
Lithuanian
Dutch
Norwegian
Polish
Portuguese
Romanian
Russian
Slovak
Swedish
Thai
Turkish
Ukrainian
Vietnamese
Tagalog
Malay
Estonian
Catalan
Latvian
Urdu
Serbian
Persian
Swahili
Albanian
Armenian
Icelandic
Bosnian
Luxembourgish
Afrikaans
Kako Pripraviti Svoje Dvorišče Za Bazen Z Mini Bagrom
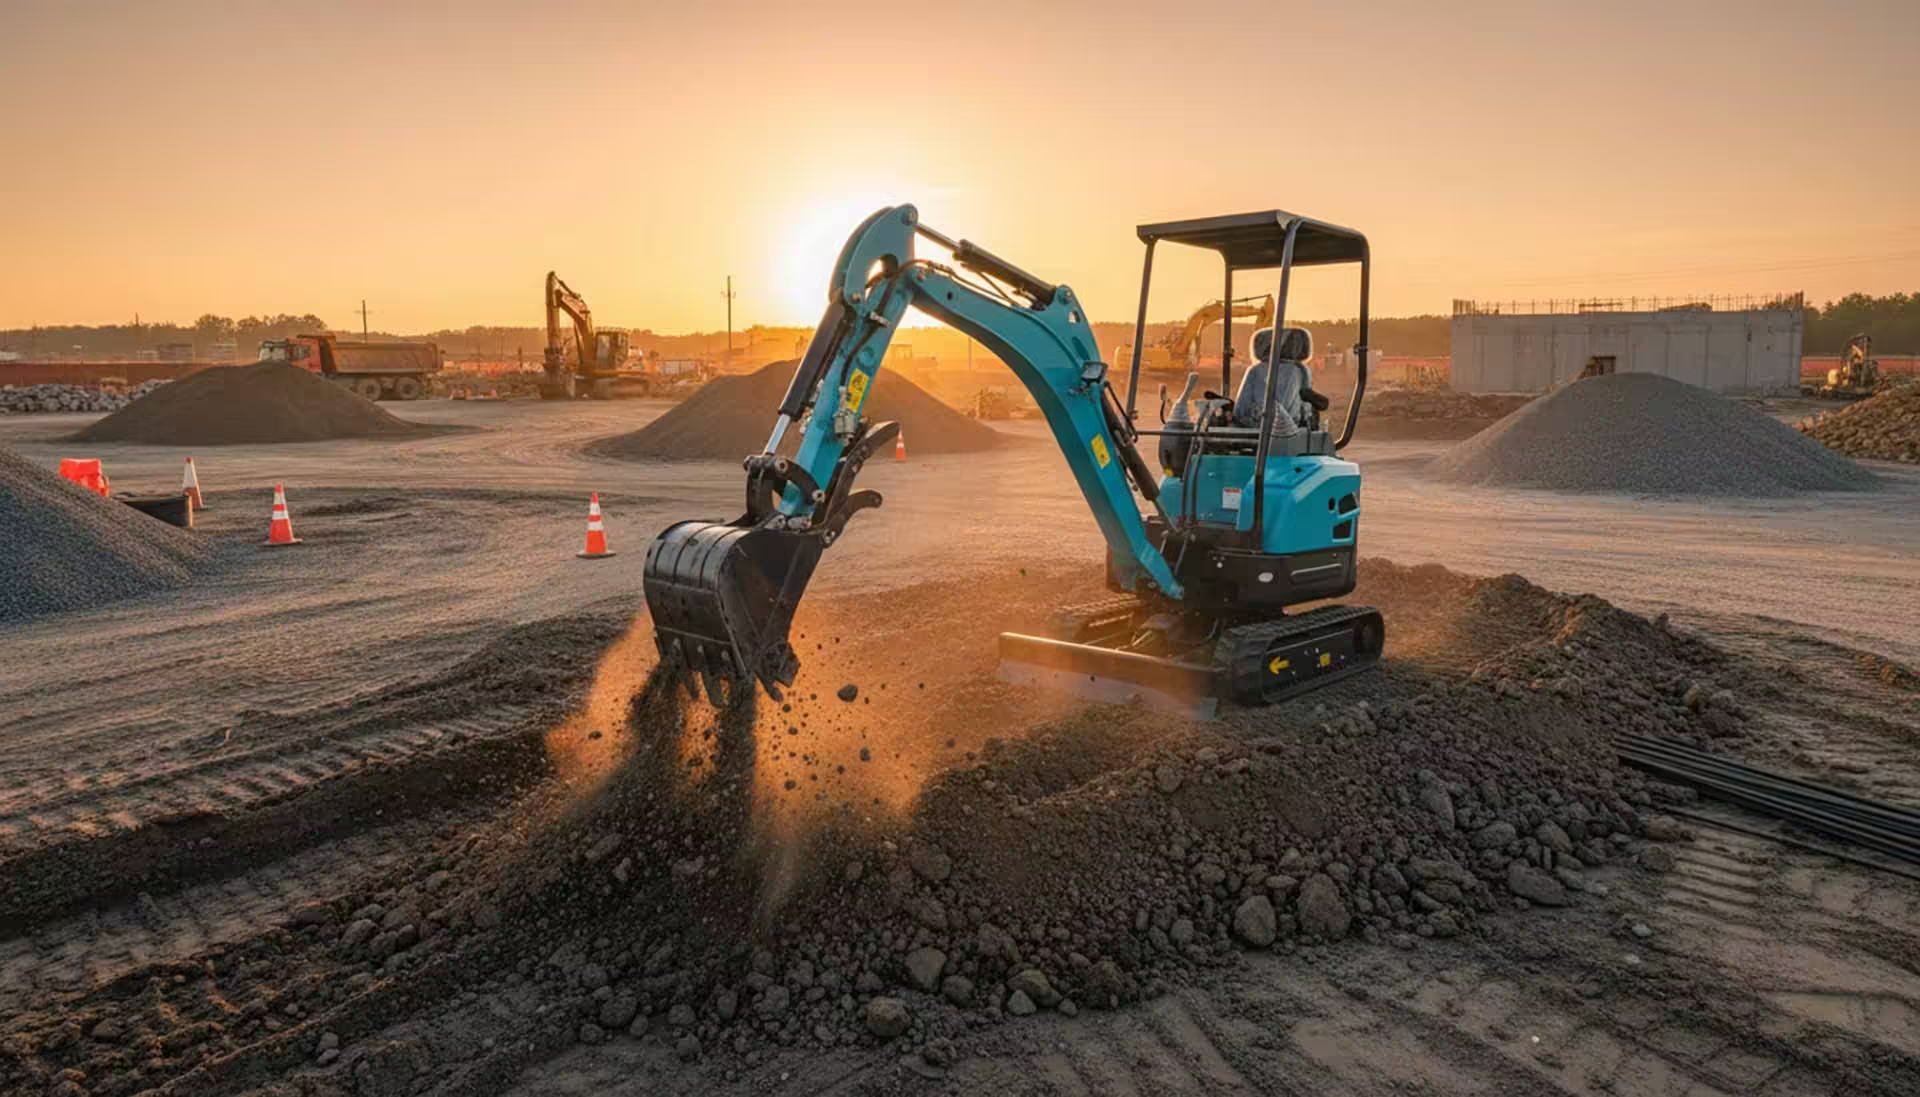
Svoje dvorišče lahko pripravite na bazen tako, da uporabite Mini-bager za dvigovanje težkih predmetov in kopanje. Predstavljajte si, da stojite na svojem dvorišču in označite obliko bazena, medtem ko preverjate komunalne vode. Pred začetkom si nadenete varnostno opremo in pregledate lokalne kode. Pravilno načrtovanje preprečuje pogoste incidente, kot je udarjanje v zakopane komunalne vode ali zapuščanje mesta nevarno. Naslednja tabela poudarja pogoste težave in rešitve, ki jih morate upoštevati:
| Izziv | Rešitev |
|---|---|
| Udarjanje in poškodovanje komunalnih vodov | Pokličite 811 ali lokalna komunalna podjetja, da označite podzemne komunalne storitve pred kopanjem. |
| Zanemarjanje varnostnih protokolov | Ustvarite temeljite varnostne načrte, dodelite varnostne uradnike in izvajajte pogoste preglede. |
| Nevarnosti odprtega mesta izkopavanja | Zavarujte območje z ograjo in znaki; pokrijte izkop, če ostane odprt. |
Prav tako morate upoštevati velikost bazena, vrsto tal in vreme.Mehkejša tla in manjši bazeni pospešijo proces, vendar vas lahko skalnata tla ali dež upočasnijo.S skrbnimi koraki lahko dosežete profesionalne rezultate.
Key Takeaways
- Pazljivo načrtujte svoje mesto bazena, da se izognete dragim napakam in zagotovite skladnost z lokalnimi predpisi.
- Pred kopanjem vedno preverite, ali so na voljo podzemni pripomočki, da preprečite nesreče in motnje storitev.
- Izberite pravi mini-bager glede na velikost vašega dvorišča in kompleksnost vašega projekta.
- Zberite nujno varnostno opremo, vključno s trdimi klobuki in rokavicami, da se zaščitite med izkopavanjem.
- Očistite območje odpadkov in ovir, da ustvarite varen in učinkovit delovni prostor za vaš izkop.
- Vzdržujte natančne meritve in pogosto preverjajte globino, da zagotovite raven bazen.
- Dokumentirajte svoj postopek izkopavanja s fotografijami in opombami za pomoč pri pregledih in prihodnji referenci.
- Sledi pravilne tehnike stiskanja in razvrščanja da preprečite naselitev in zagotovite stabilno podlago za vaš bazen.
Načrtujte svoje mesto bazena
Preden začnete s kakršnim koli izkopavanjem, morate natančno načrtovati lokacijo bazena. Skrbna priprava zmanjša drage napake in ohranja vaš projekt v skladu z načrtom. Oceniti boste morali svoje dvorišče, označiti območje bazena, preveriti podzemne pripomočke in zagotoviti dostop do opreme. Lokalni predpisi pogosto zahtevajo, da si zagotovite dovoljenja in načrtujete preglede, zato se pred začetkom gradnje vedno posvetujte s svojo občino.
Nasvet: Načrtovanje vnaprej vam pomaga preprečiti zamude, prekoračitve proračuna in varnostne nevarnosti.
Označite območje bazena
Natančno označevanje postavlja temelje za uspešno namestitev bazena. Sledite tem korakom, da orišete svoj bazen:
- Izmerite 0,60 metra od vogalnega opornika in označite črto po dolžini. Ta postopek ponovite po širini z drugim opornikom, da poiščete križišče.
- Označite točko prehoda s stolpom, nato pa uporabite označevalni sprej, da sledite obliki četrt kroga.
- Narišite obodno črto 0,60 metra zunaj roba bazena, da določite mejo izkopa.
- Uporabite raven graditelja za nastavitev višinskih točk na vsakem vogalu pravokotnika bazena.
- Označite dno globoke končne stene tako, da merite 1,12 metra nad svojo referenčno točko.
- Odstranite travo vzdolž linije izkopa in postavite opornike v intervalih, da označite robove.
- Ko končate z označevanjem, lahko najamete a Mini bager in začnite kopati na plitvem koncu.
Lastnik stanovanja v Teksasu je pred kratkim sledil tem korakom za bazen na dvorišču. S skrbnim merjenjem in označevanjem so se izognili dragim predelavam in zagotovili, da se bazen popolnoma prilega njihovim nepremičninskim linijam.
Preverite za podzemne pripomočke
Pred kopanjem morate identificirati vse podzemne pripomočke.Udarjanje po vodnem vodu ali kablu lahko povzroči poškodbe, izpade storitev in draga popravila.Stik z 811, brezplačno državno službo, da strokovnjaki označijo približno lokacijo zakopanih pripomočkov z barvo ali zastavami.Za dodatno varnost uporabite lokatorje cevi za sledenje vodnim vodom in lokatorje kablov za signalne vode.Magnetni lokatorji lahko zaznajo železne predmete, vendar niso zanesljivi za pripomočke.
Varnostno opozorilo: Nikoli ne začnite izkopavati, dokler niso vsi pripomočki jasno označeni in preverjeni.
Zagotovite dostop do mini bagra
Potrditi morate, da vaše dvorišče zagotavlja dovolj prostora za vstop in premikanje opreme.Večina mini bagrov zahteva najmanjši radij obračanja 1,3 metra.Tipične dimenzije so 2,8 metra v dolžino, 1 meter v širino in 2 metra v višino. Izmerite vsa vrata, poti in tesne vogale, da zagotovite, da lahko stroj doseže mesto kopanja brez ovir.
| Izziv | Opis | Rešitve |
|---|---|---|
| Spremembe dizajna | Spremembe sredi projekta povzročajo zamude in dodatne stroške. | Sporočite omejitve oblikovanja, spremembe dokumentov in upravljajte pričakovanja. |
| Razpoložljivost materiala | Pomanjkanje moti urnike in povečuje stroške. | Izvorite zanesljive dobavitelje in načrtujte nepredvidene dogodke. |
| Koordinacija podizvajalcev | Napačna komunikacija ovira napredek. | Imejte redne sestanke in uporabljajte orodja za vodenje projektov. |
| Okvare opreme | Razčlenitve vodijo do zamud pri projektih. | Vzdržujte opremo in imejte rezervne dele pri roki. |
| Prekoračitve proračuna | Nenačrtovani stroški presegajo vaš proračun. | Stroške temeljito ocenite in redno spremljajte odhodke. |
| Zamude pri pregledu | Razporejanje konfliktov upočasni napredek. | Usklajevati se z organi in se vnaprej pripraviti na preglede. |
Opomba: Lokalni predpisi lahko zahtevajo, da pridobite dovoljenje za rušenje (ki stane $500 $1,500), preverite odklop komunalnih storitev in načrtujete preglede na lokaciji pred in po zasipanju. Bazeni v bližini struktur bodo morda potrebovali tudi inženirska poročila.
Z upoštevanjem teh korakov nastavite temelje za nemoteno izkopavanje in namestitev bazena.
Izberite Orodja in Varnostno opremo
Izbira prave opreme in varnostne opreme postavlja temelje za uspešen izkop bazena. Preden začnete, morate oceniti pogoje vašega dvorišča, obseg projekta in lokalne predpise. Ta razdelek vas vodi skozi izbiro a Mini bager, zbiranje osnovne varnostne opreme in zavarovanje dovoljenj.
Izberite Desni Mini-bager
Potrebujete mini bager, ki ustreza velikosti vašega dvorišča in kompleksnosti vašega projekta bazena. Pri izbiri upoštevajte naslednje dejavnike:
- Velikost stroja: Zagotovite, da se bager prilega skozi vrata in tesne prostore.
- Dvižna zmogljivost: Izberite model, ki lahko prenese težo zemlje in odpadkov.
- Prebojna sila: Višja sila vam pomaga kopati skozi gosto ali skalnato podlago.
- Manevriranje: Zmogljivost nihajne roke vam omogoča učinkovito delo v zaprtih prostorih.
- Varnostne funkcije: Poiščite sisteme za zaščito in opozarjanje pri prevračanju.
- Udobje operaterja: Dobro zasnovana kabina zmanjša utrujenost v dolgih urah.
- Vsestranskost prilog: Izberite model, ki podpira vedra, polže in druga orodja.
- Prevoz: Potrdite višino in težo prevoza za zakonito gibanje po cesti.
- Učinkovitost goriva: manjša poraba goriva zmanjša obratovalne stroške.
- Proračun in financiranje: Ocenite skupne stroške lastništva, vključno z vzdrževanjem in zavarovanjem.
- Podpora blagovne znamke: Zanesljiva podpora trgovca zagotavlja hitra popravila in razpoložljivost delov.
- Garancija: Celovito kritje ščiti vašo naložbo.
Nasvet: Pred začetkom vedno preglejte priročnik operaterja in opravite varnostne preglede. Industrijski organi, kot je Uprava za varnost in zdravje pri delu (OSHA), priporočajo temeljito usposabljanje in pregled strojev.
Tukaj je primerjava pogostih funkcij Mini-Excavatorja:
| Funkcija | Kompaktni model | Standardni model | Model za težke obremenitve |
|---|---|---|---|
| Velikost stroja | Ustreza ozkim prostorom | Ustreza večini dvorišč | Potrebuje širok dostop |
| Dvižna zmogljivost | Nizka | Srednje | Visoko |
| Breakout Force | Zmerno | Visoko | Zelo Visoko |
| Manevriranje | Odlično | Dobro | Pošteno |
| Možnosti priloge | Osnovna | Večkratni | Obsežno |
| Učinkovitost goriva | Visoko | Srednje | Nizka |
Zberite varnostno opremo
Pred upravljanjem Mini-bagra se morate opremiti s pravo varnostno opremo Industrijski standardi priporočajo naslednje elemente
- Trda kapa za zaščito glave
- Zaščitna očala ali zatemnjena očala za zaščito oči
- Visoko vidni jopič za povečanje vaše vidljivosti
- Škornji z jeklenimi prsti za varnost stopal
- Delovne rokavice za oprijem in zaščito rok
- Zaščita sluha v hrupnem okolju
Varnostno opozorilo: pred vsako uporabo opravite varnostni pregled.Preglejte svojo opremo glede poškodb in zamenjajte morebitne obrabljene predmete.OSHA in lokalni varnostni organi zagotavljajo smernice za osebno zaščitno opremo.
Varna dovoljenja
Pred začetkom izkopavanja morate pridobiti potrebna dovoljenja Postopek lahko traja od dva tedna do dva meseca, odvisno od vaše občine Faza projektiranja in odobritve pogosto traja štiri do osem tednov, vključno z večkratnimi pregledi in odobritvami.Zgodaj se obrnite na lokalni gradbeni oddelek, da se izognete zamudam.
Opomba: Socialne platforme in forumi skupnosti lahko nudijo nasvete o krmarjenju po postopkih lokalnih dovoljenj. Zahteve vedno preverite pri svojem mestnem ali okrožnem uradu.
Z izbiro pravega Mini-Excavatorja, nošenjem ustrezne varnostne opreme in zagotavljanjem dovoljenj ustvarite varno in učinkovito delovno okolje. Ti koraki vam pomagajo preprečiti drage napake in ohraniti vaš projekt na pravi poti.
Počistite in pripravite območje
Priprava vašega dvorišča za namestitev bazena zahteva sistematičen pristop k čiščenju in razvrščanju.Odstraniti morate vse ostanke, se spopasti s štori in koreninami ter ustvariti ravno podlago za gradnjo. Ta postopek zagotavlja varnost, preprečuje prihodnje zaplete in postavlja temelje za uspešno kopanje.
Odstranite odpadke in ovire
Začnite s čiščenjem mesta kakršnega koli pohištva, skal, vej in rastlinskega materiala. Obod morate zavarovati z ograjo, da preprečite nepooblaščen dostop in označite podzemne pripomočke, da se izognete naključnim poškodbam. Nadzor prahu in preprečevanje erozije sta bistvenega pomena, zlasti v suhih ali vetrovnih razmerah.
| Common Obstacles | Removal Technique |
|---|---|
| Rocks | Use shovel or excavator bucket |
| Tree branches | Cut and haul away |
| Old furniture | Odstrani ročno |
| Podzemne komunalne storitve | Mark and avoid during excavation |
| Plant debris | Rake and dispose |
Tip: Always wear personal protective equipment such as helmets, gloves, eye protection, and dust masks. Certified operators should handle heavy machinery. Monitor for hazards like unstable soil or debris piles.
A homeowner in Georgia recently faced a yard filled with old patio furniture and overgrown shrubs. By organizing a cleanup crew and renting a dumpster, they cleared the area in one afternoon, allowing the excavation to begin on schedule. For more on site safety, visit OSHA’s Construction Safety.
Stump and Root Removal
Tree stumps and large roots can hinder excavation and compromise pool stability. You must remove them efficiently to avoid future settling or damage.
Techniques for Stubborn Stumps
- Cut through the root system using the bucket edge of your Mini-Excavator, applying steady pressure.
- Dig underneath the stump to isolate it from major roots and create leverage points.
- Position the bucket beneath the stump, then lift slowly while rocking it back and forth.
A property owner in Oregon removed a stubborn oak stump by digging around its base and using the excavator’s bucket to pry and twist until the stump broke free. This method saved hours compared to manual removal. For guidance on safe stump removal, refer to Tree Care Industry Association.
Handling Large Roots
You should use the bucket to cut through smaller roots and pry larger ones loose. Remove all root fragments to prevent regrowth and ensure a stable pool foundation.
Level and Grade the Ground
Proper grading prevents water accumulation and ensures a smooth pool base. Use the grid method by placing stakes and running strings to identify high spots. Mark these areas for adjustment, then dig down to match the lowest point. Rake the ground to distribute soil evenly and remove debris. Compact the soil with a tamper or lawn roller for stability. Spread two inches of masonry sand, rake it smooth, and compact it to create a level layer beneath the pool liner.
Note: Plan for drainage to avoid water pooling. Consider French drains or dry creek beds to manage runoff. Thoughtful landscaping enhances the pool area’s appeal and supports environmental sustainability.
Mini-Excavator Digging Steps
Excavating your pool site with a Mini bager requires precision and planning. You must follow each step carefully to achieve a professional result and avoid costly mistakes.
Set Boundaries for Digging
You need to establish clear boundaries before you start digging. Follow these steps for accurate pool excavation:
- Clear all vegetation and remove the topsoil to expose a firm base.
- Level the area using a laser or transit level. This creates a uniform work surface for your Mini bager.
- Drive stakes at each pool corner. Outline the edges with chalk or spray paint to mark the exact excavation limits.
Tip: Accurate boundaries help you avoid over-excavation and ensure your pool fits the planned dimensions.
Dig the Pool Area
Once you set the boundaries, you can begin digging. You must maintain control and monitor depth throughout the process.
Bucket Positioning and Control
Position the Mini-Excavator bucket at the starting point of the shallow end. Lower the bucket slowly and scoop out soil in small increments. Keep the bucket level to avoid uneven cuts. Use the controls to adjust the angle and depth as you move along the perimeter. Experienced operators recommend working in layers, removing soil gradually to maintain stability.
Note: Advanced controls allow you to shape curves and corners with precision. Practice smooth movements to avoid jerky cuts that can destabilize the excavation walls.
Maintaining Slope and Depth
You must maintain the correct slope and depth for your pool. The recommended excavation depth for standard in-ground pools is 44½ inches, measured from a reference point above ground level. Use a shot stick and transit or water level to check your progress. Mark the shallow end and over dig ledge clearly. Check measurements frequently to avoid errors.
- Measure depth at multiple points to ensure consistency.
- Adjust the slope gradually from the shallow end to the deep end.
- Use a rake or shovel to fine-tune the base after machine digging.
Safety Alert: Never dig deeper than planned. Over-excavation can lead to structural issues and increased costs.

Manage Soil and Spoil Piles
Proper soil management keeps your site organized and safe. You must designate areas for spoil piles away from the excavation edge. Use the Mini-Excavator to move soil efficiently. Compact spoil piles to prevent erosion and keep pathways clear for equipment.
| Pogoste napake | Rešitve |
|---|---|
| Hiring unqualified companies or DIY attempts | Hire experienced professionals for pool excavation |
| Leaving parts of the pool intact | Ensure complete removal of the pool structure |
| Inexperienced operators falling into the pool | Train operators on safety and respect for equipment |
| Damage from inexperienced demolition of walls | Use skilled contractors for wall demolition |
| Using inappropriate equipment like bobcats | Select suitable machinery for pool demolition |
| Overkill equipment causing property damage | Choose equipment that matches the project needs |
| Slow project completion | Hire contractors with a proven track record |
| Wrong strategy for project completion | Develop a clear and effective plan before starting |
| Poor access routes impacting property | Plan access routes carefully to minimize damage |
| Not protecting sensitive trees | Implement protective measures for nearby trees |
| Using sod instead of seed | Opt for seeding to ensure better recovery |
Tip: Plan spoil pile locations before you start. This prevents accidental damage to landscaping and keeps your work area safe.
Case Study: Step-by-Step Pool Digging
A homeowner in Florida prepared their yard for a new pool using a Mini-Excavator. They started by clearing vegetation and marking boundaries with stakes and spray paint. The operator used a transit level to ensure the work surface was even. Digging began at the shallow end, with the bucket positioned carefully to remove soil in layers. The operator checked depth with a shot stick and water level, maintaining the recommended 44½-inch depth. Spoil piles were placed on tarps away from the excavation edge to protect the lawn. The project took three days, with daily checks for slope and measurements. The homeowner followed guidance from industry tutorials on YouTube and referenced pool construction guides for best practices.
For more detailed instructions, visit Pool Construction Guide or search for “Mini-Excavator pool digging tutorial” on social media platforms.
Digging Time Statistics
| Pool Size (sq. ft.) | Typical Digging Time (hours) |
|---|---|
| 200 | 8–12 |
| 400 | 14–20 |
| 600 | 20–28 |
Note: Digging times vary based on soil type, weather, and operator experience. Always plan for extra time if you encounter rocks or roots.
By following these steps, you can excavate your pool site efficiently and safely. Careful planning, precise measurements, and proper equipment use ensure a successful project.
Trenching and Footings
When you prepare your pool site, trenching and footing excavation play a critical role in ensuring long-term stability and proper utility installation. You must approach these steps with precision and attention to detail.
Trench for Plumbing and Electrical
You need to dig trenches for plumbing and electrical lines before installing the pool shell. Building codes require specific trench dimensions to protect pipes and wires from damage and ensure safe operation.
| Vidik | Dimenzija |
|---|---|
| Trench Width | At least 2 ft |
| Trench Depth | At least 2 ft |
For conduit installation, follow these depth requirements:
| Conduit Type | Depth Required |
|---|---|
| Metal Conduit | 6 palcev |
| Plastic Conduit | 18 palcev |
You should mark trench paths with spray paint and flags. Use a Mini bager to dig straight, uniform trenches. Always check the slope to promote drainage and prevent water pooling. Place warning tape above utility lines before backfilling to alert future diggers.
Tip: Call your local inspection office to confirm trench dimensions and placement before you start. This step helps you avoid costly rework and code violations.
Case Study: Safe Trenching in Residential Pool Installation
A homeowner in Arizona planned a pool with integrated lighting and water features. They marked trench paths and measured widths and depths according to local codes. The operator used a Mini-Excavator to dig trenches 2 feet wide and deep, then installed plastic conduit at an 18-inch depth for electrical lines. The project passed inspection on the first attempt, and no safety incidents occurred. According to local safety reports, most trenching accidents result from improper depth or lack of warning tape. By following code and marking utilities, you reduce risk.
Excavate Pool Footings
Pool footings support the structure and prevent shifting or settling. You must excavate footings with care to maintain stability and alignment.
Depth and Width Tips
Follow these recommended techniques for footing excavation:
- Bulk Excavation: Shape the pool and reach the required depth using heavy machinery.
- Trenching: Dig precise trenches for plumbing and utilities to avoid leaks.
- Rock Excavation: Break up hard materials in rocky soil to secure the pool’s foundation.
- Grading and Sloping: Adjust the ground to manage drainage and prevent water problems.
You should dig footings to the depth specified in your pool plans, usually between 12 and 24 inches below the pool base. Maintain a consistent width, typically 12 inches, to support the walls evenly. Use a measuring tape and level to check dimensions as you work.
Alignment Checks
You must verify alignment at every stage. Place stakes and run string lines along the footing edges. Use a builder’s level to confirm that the footings are straight and at the correct elevation. Check for gaps or uneven sections, then adjust as needed. Accurate alignment ensures the pool shell sits evenly and prevents future cracking.
Note: Document your measurements and take photos for inspection records. Consistent checks help you catch errors early and avoid structural issues.
By following these steps, you create a safe, code-compliant foundation for your pool. Careful trenching and footing excavation set the stage for a successful installation.
Final Prep and Cleanup
Check Depth and Dimensions
You must verify the accuracy of your excavation before moving forward. Start by establishing fixed reference points in your yard. Use a measuring tape or laser measure to check the pool’s length and width from these points. Walk the perimeter and measure at several locations to confirm consistency. For pools with curves or special features, measure those areas separately. Record every measurement in a notebook or on your phone for future reference.
To check depth, insert a measuring pole vertically at multiple spots across the pool base. Mark the pole at ground level, then read the distance to the bottom. Repeat this process at the shallow and deep ends. Taking several measurements ensures you catch any uneven spots early.
Nasvet: Document your measurements and take photos. This record helps during inspections and if you need to troubleshoot later.
| Common Issues Found During Final Prep | How to Address Them |
|---|---|
| Uneven base or slopes | Re-grade and re-measure affected areas |
| Incorrect pool dimensions | Adjust excavation boundaries as needed |
| Standing water in excavation | Improve drainage or pump out water |
| Missed utility lines | Pause work and re-check with locator tools |
Compact and Grade Base
Proper compaction and grading prevent future settling and structural problems. Use heavy machinery to grade the base evenly. For clay-heavy soil, larger excavators break through dense material efficiently. In sandy or loose soil, wider tracks or stabilizers keep equipment from sinking. Mechanical compactors or rollers are essential for compacting loose soils. Spread each lift of soil in 6-inch layers and compact thoroughly before adding the next.
“Fill the pool correctly to avoid a sinking mud hole in your yard. It’s crucial to do it right. Spread each lift of soil in 6″ layers and compact it. We use a padded foot drum roller for the best results.”
After grading, check the surface with a level or laser to confirm uniformity. Good compaction ensures your pool will not shift or settle over time.
Clean Up and Remove Equipment
A thorough cleanup leaves your site safe and ready for the next phase. Begin by rough grading the disturbed areas and leveling the ground to match existing landscaping. Provide proper drainage by sculpting the land and smoothing out the surface. Aerate the topsoil to encourage new grass growth. Apply seed and straw mat or lay sod for a finished look. Reinstall any fencing you removed for equipment access.
Pick up and haul away all debris, including broken concrete and rebar. Import engineered fill if needed to restore the area. Complete a final walk-through to inspect the site and collect any remaining debris.
Opomba: Final inspections often focus on permits, electrical safety, and adherence to plans. Schedule these with your local authority before proceeding.
| Inspection Requirement | Opis |
|---|---|
| Dovoljenja in predpisi | Inspections ensure adherence to submitted plans and safety regulations. |
| Electrical Safety | Focus on ensuring electrical installations are up to code to prevent hazards. |
| Continuous Inspections | Inspections occur at various stages from excavation to final installation, ensuring safety. |
Študija primera:
A homeowner in North Carolina completed their pool excavation by double-checking all measurements, compacting the base with a mechanical roller, and restoring the yard with fresh seed. Their attention to detail helped them pass inspection on the first try and achieve a smooth transition to pool installation. For more best practices, review pool construction guidelines.
You have learned how to prepare your yard for a pool using a mini-excavator. Careful planning, accurate measurements, and strict safety practices set you up for success. When you double-check every step, you avoid costly mistakes and pass inspections with ease. For example, a homeowner who measured twice and compacted the base thoroughly enjoyed a smooth installation and fewer repairs. The table below shows the long-term benefits of thorough site preparation:
| Koristi | Opis |
|---|---|
| Stable foundation | Pool withstands settling and uneven stresses over time. |
| Reduced maintenance costs | Fewer repairs from cracking or structural issues. |
| Durability through weather | Pool resists movement during severe conditions. |
| Mir uma | Proper base minimizes risks of sinks or premature wear. |
| Longevity for owners | Structural integrity lasts for generations. |
Take your time, follow local codes, and ask for help when needed. You will enjoy the satisfaction of a well-prepared pool site.
FAQ
How deep should you dig for a standard in-ground pool?
You should dig to a depth of 44½ inches for most standard in-ground pools. Always check your pool design and local codes. Measure at several points to confirm consistent depth. Adjust as needed for sloped or multi-level pools.
Can you operate a mini-excavator on wet or muddy ground?
You can operate a mini-excavator on damp soil, but avoid saturated or muddy areas. Wet ground increases the risk of equipment sinking or sliding. Wait for drier conditions or lay down gravel for better traction.
What safety checks should you perform before starting excavation?
You should inspect the mini-excavator for leaks, loose parts, and proper fluid levels. Test all controls. Confirm that safety gear fits. Mark all utilities. Review your emergency plan with anyone on-site.
How do you handle unexpected rocks or boulders during excavation?
You should use the mini-excavator’s bucket to loosen smaller rocks. For large boulders, dig around them and lift with the machine if possible. If the rock is too heavy, consider breaking it into smaller pieces or hiring a specialist.
What should you do if you find unmarked utility lines?
Stop work immediately. Mark the location and contact your local utility provider. Do not attempt to move or repair the line yourself. Wait for professional guidance before continuing.
How do you ensure the pool area remains level during excavation?
You should use a laser level or builder’s level to check elevation points frequently. Mark reference stakes around the site. Adjust the excavation as you go. A homeowner in California avoided costly rework by checking levels every hour.
Is it possible to prepare a yard for a pool without professional help?
You can prepare your yard if you have the prava oprema, safety training, and follow local codes. Many homeowners succeed by researching best practices and consulting with inspectors. For complex sites, consider hiring a professional for guidance.
What is the best way to dispose of excess soil from excavation?
You should contact local waste management or landscaping companies. Some areas allow you to reuse soil for grading or garden beds. A homeowner in Ohio arranged for a hauler to remove spoil piles, keeping the site clean and compliant.