8 Steps for Tractor Spring Maintenance. Spring is the perfect time to give your tractor some much-needed attention and ensure that it is in top-notch condition for the upcoming farming season. By following a few essential maintenance steps, you can prolong the lifespan of your tractor, improve its performance, and avoid costly breakdowns. In this article, we will guide you through eight steps for effective tractor spring maintenance. Let’s get started!
Step 1: Clean and Inspect the Tractor
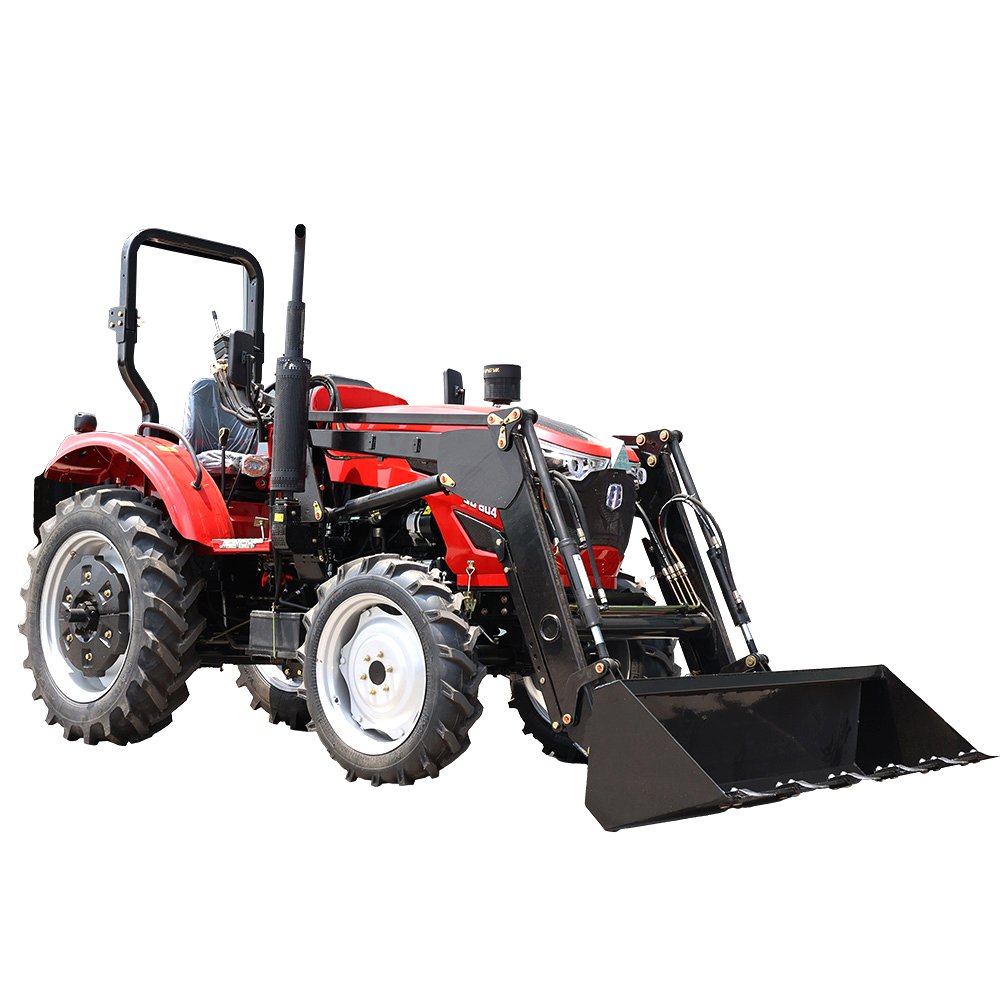
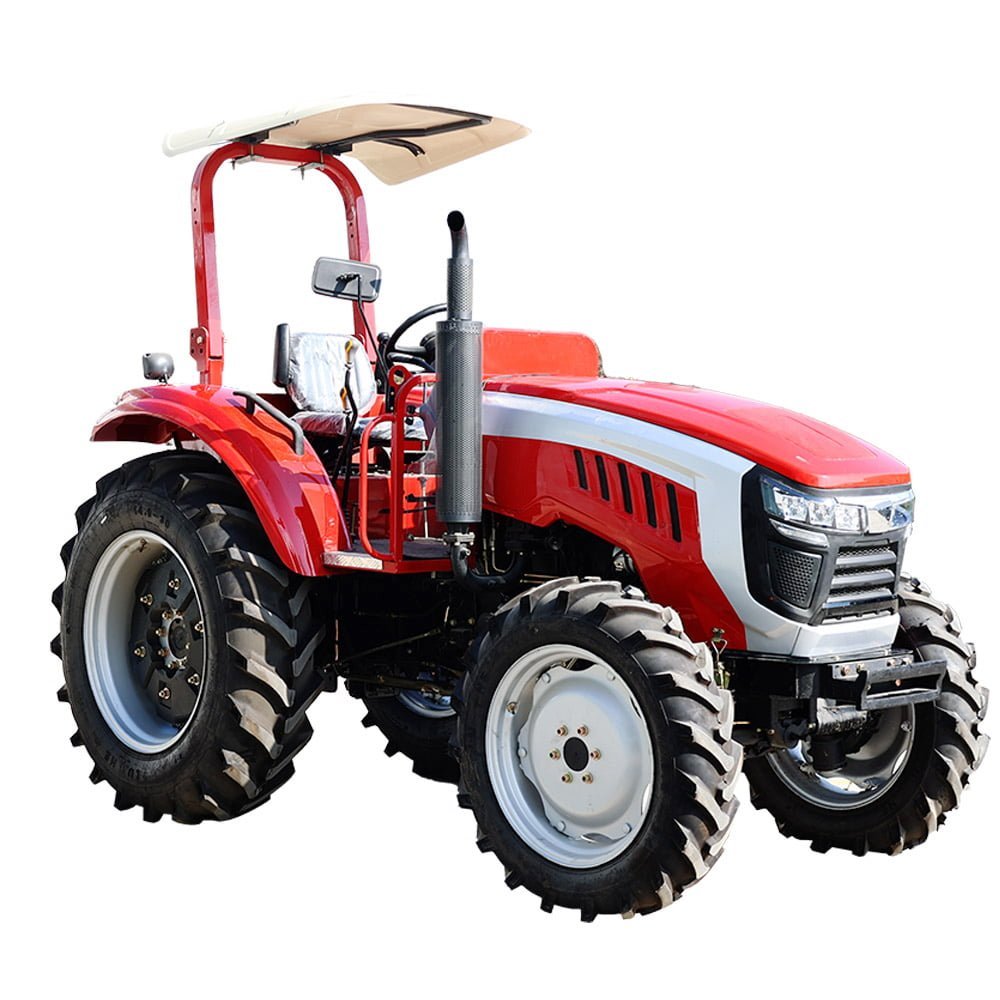
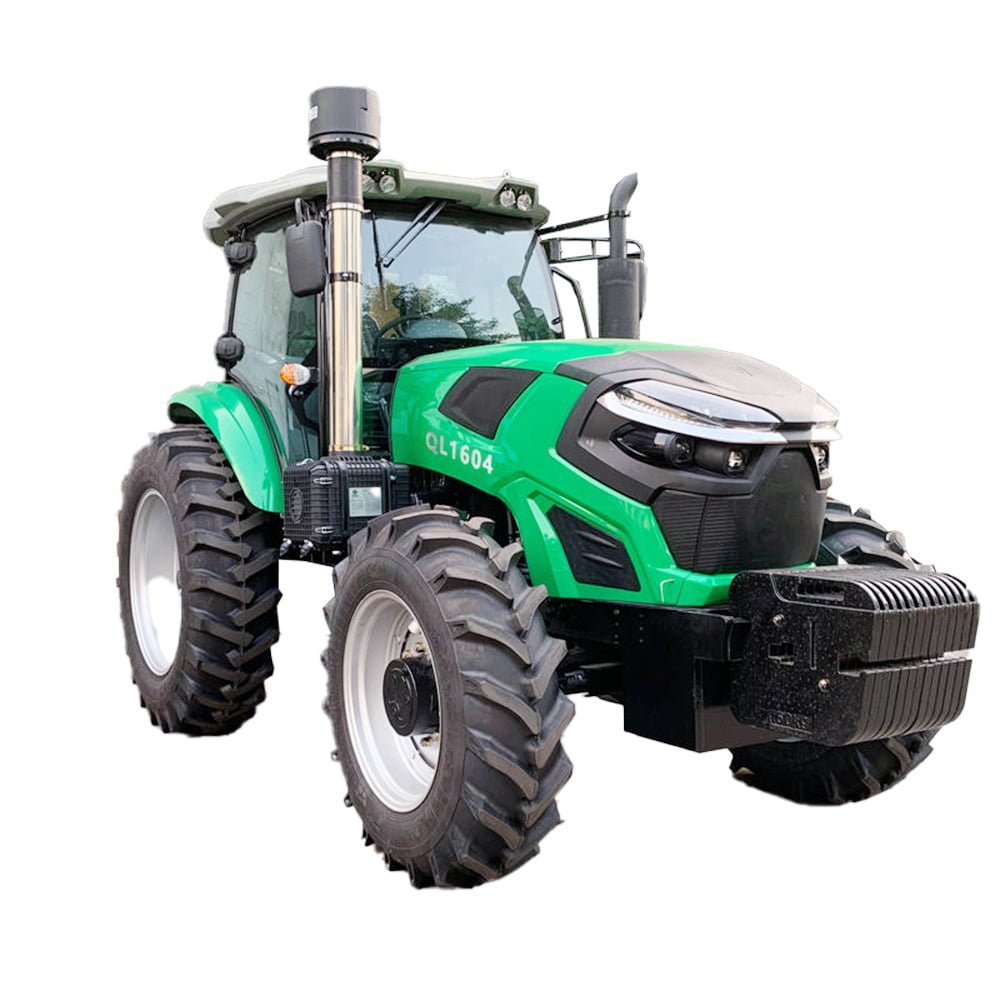
8 Steps for Tractor Spring Maintenance.Begin by thoroughly cleaning your tractor, removing any dirt, debris, or rust that may have accumulated during the winter months. Inspect the body, frame, and undercarriage for signs of damage or wear. Pay attention to the condition of the paint, and touch up any areas that require attention. Cleaning and inspecting your tractor will give you a clear picture of its overall condition and help you identify any potential issues.

Step 2: Check the Tires and Wheels
8 Steps for Tractor Spring Maintenance.Proper tire maintenance is crucial for optimal tractor performance. Check the tire pressure and adjust it according to the manufacturer’s recommendations. Inspect the tires for any signs of wear, such as cracks, bulges, or tread depth below the recommended level. Replace worn-out tires promptly to ensure safe and efficient operation. Additionally, inspect the wheels for loose or damaged bolts and tighten or replace them as necessary.
Step 3: Examine the Battery and Electrical System
8 Steps for Tractor Spring Maintenance.A well-functioning battery and electrical system are essential for starting your tractor and operating its various components. Inspect the battery for corrosion, loose connections, or signs of damage. Clean the battery terminals and ensure they are securely attached. Test the battery voltage and replace it if it is weak or unable to hold a charge. Check the wiring and electrical connections for any signs of wear or damage, and repair or replace them as needed.
Step 4: Inspect the Engine and Fuel System
8 Steps for Tractor Spring Maintenance.The engine is the heart of your tractor, and proper maintenance is crucial for its longevity. Inspect the engine for oil leaks, damaged hoses, or loose belts. Change the engine oil and filter according to the manufacturer’s recommendations. Inspect the fuel system, including the fuel lines, filters, and injectors, for any signs of blockages or leaks. Clean or replace the filters and address any issues promptly to ensure a smooth-running engine.
Step 5: Evaluate the Hydraulic System
8 Steps for Tractor Spring Maintenance.The hydraulic system of your tractor is responsible for powering various attachments and implements. Inspect the hydraulic fluid level and check for any signs of contamination or leaks. Top up or replace the fluid as necessary, following the manufacturer’s guidelines. Test the hydraulic system by operating the attachments to ensure smooth and responsive operation. Address any issues, such as sluggish or jerky movements, immediately.
Step 6: Lubricate Moving Parts
8 Steps for Tractor Spring Maintenance.Proper lubrication is essential for reducing friction and preventing premature wear of moving parts. Refer to your tractor’s manual to identify the points that require lubrication. Apply the appropriate lubricant to the various components, such as the steering system, throttle linkage, and pivot points.
Step 7: Test the Brakes and Clutch
8 Steps for Tractor Spring Maintenance.Ensuring the safety of your tractor is of utmost importance. Test the brakes to make sure they are responsive and provide sufficient stopping power. Inspect the brake pads, discs, or drums for wear and replace them if necessary. Check the clutch for proper engagement and smooth operation. If you notice any issues with the brakes or clutch, have them inspected and repaired by a professional technician.
Step 8: Verify the Safety Features
8 Steps for Tractor Spring Maintenance.Before taking your tractor out into the field, it’s essential to verify that all safety features are in proper working order. Check the headlights, taillights, and turn signals to ensure they are functioning correctly. Test the horn and backup alarm to make sure they can alert others of your presence. Inspect the seat belts and ensure they are in good condition and properly fastened. Don’t forget to check the Rollover Protective Structure (ROPS) for any signs of damage or wear.
By following these eight steps for tractor spring maintenance, you can keep your tractor in excellent condition and ready for a productive farming season. Remember, regular maintenance is key to maximizing performance, increasing safety, and extending the lifespan of your equipment. Don’t neglect these essential tasks and enjoy a hassle-free experience in the field.
How often should I perform tractor spring maintenance?
Proper maintenance of your tractor’s springs is essential to ensure optimal performance and extend their lifespan. The frequency of maintenance depends on various factors, including the tractor usage, operating conditions, and manufacturer’s recommendations. Here are some general guidelines for tractor spring maintenance:
- Regular Inspections: Conduct visual inspections of your tractor’s springs on a regular basis, preferably before each use. Look for signs of wear, damage, or corrosion. Check for any loose or broken parts, such as bolts or shackles.
- Lubrication: Apply lubrication to the springs as per the manufacturer’s recommendations. Lubrication helps reduce friction and prevents excessive wear. Use a suitable lubricant that is compatible with the type of springs on your tractor.
- Cleaning: Keep the springs clean and free from dirt, debris, and rust. Use a brush or compressed air to remove any buildup that can affect their performance. Washing the tractor regularly can help prevent corrosion.
- Load Distribution: Ensure that the load on your tractor is distributed evenly. Uneven weight distribution can put excessive stress on the springs, leading to premature wear. Avoid overloading the tractor beyond its recommended capacity.
- Spring Adjustment: If your tractor’s springs are adjustable, periodically check their tension and make necessary adjustments. Follow the manufacturer’s guidelines for proper adjustment procedures.
- Shock Absorbers: Some tractors are equipped with shock absorbers or dampers to reduce vibrations and impacts on the springs. Inspect these components regularly and replace them if they show signs of wear or reduced effectiveness.
- Operating Conditions: Consider the operating conditions when determining the maintenance frequency. If you frequently operate the tractor in harsh environments, such as dusty or muddy conditions, it may require more frequent maintenance.
- Manufacturer’s Recommendations: Always refer to the tractor’s user manual or consult the manufacturer for specific maintenance guidelines. They may provide detailed instructions and recommended maintenance intervals for the springs.
Remember, regular maintenance is crucial for the optimal performance and longevity of your tractor’s springs. By following these guidelines and staying proactive in your maintenance routine, you can help ensure that the springs function properly and avoid unexpected breakdowns.

Can I perform tractor maintenance myself?
Yes, it is possible to perform tractor maintenance yourself, depending on your level of mechanical skill and knowledge. Many tractor owners choose to do routine maintenance tasks on their own as it can save money and provide a sense of satisfaction. However, it’s important to note that more complex repairs or maintenance procedures may require professional assistance.
Here are some common tractor maintenance tasks that you can typically do yourself:
- Fluid Checks and Changes: You can check and change the engine oil, coolant, hydraulic fluid, and other fluids as recommended by the manufacturer. Make sure to follow the proper procedures and use the recommended fluids for your tractor.
- Filter Replacement: Tractors have various filters, such as oil filters, fuel filters, and air filters. These filters need to be regularly inspected and replaced when necessary. Refer to the owner’s manual for guidance on the filter replacement intervals and procedures.
- Belt and Hose Inspection: Inspect the belts and hoses for signs of wear, cracks, or leaks. Replace any damaged belts or hoses to prevent potential failures. Ensure that you have the correct replacement parts and follow the manufacturer’s instructions.
- Battery Maintenance: Check the battery regularly for corrosion, clean the terminals if necessary, and ensure proper electrolyte levels. If the battery is not holding a charge or showing signs of damage, it may need to be replaced.
- Tire Maintenance: Check the tire pressure regularly and adjust as needed. Inspect the tires for wear, punctures, or damage. Rotate the tires according to the manufacturer’s recommendations to promote even wear.
- Cleaning and Lubrication: Keep the tractor clean by washing off dirt, mud, and debris. Apply lubrication to moving parts such as hinges, joints, and linkages as recommended by the manufacturer.
- Safety Checks: Inspect safety features like lights, signals, mirrors, and seat belts to ensure they are in good working condition. Replace any faulty components to maintain safety standards.
However, it’s essential to understand your limitations and know when to seek professional help. If you encounter complex issues, unfamiliar repairs, or if you’re unsure about performing a specific maintenance task, it’s best to consult a qualified tractor mechanic or technician. They have the expertise and specialized tools to handle more intricate repairs and ensure the tractor’s safety and optimal performance.


What are some signs of a failing battery?
There are several signs that indicate a failing battery in a vehicle or tractor. Here are some common signs to watch out for:
- Dimming Headlights and Electrical Issues: If you notice that your headlights are dimming or the interior lights are noticeably dimmer than usual, it could be a sign of a failing battery. Additionally, you might experience electrical issues like flickering lights or a weak power supply to various electrical components.
- Slow Engine Crank: When starting the tractor, if the engine cranks slowly or takes longer than usual to start, it could be an indication of a weak battery. The battery provides the initial power to start the engine, and a failing battery may not provide enough power to crank the engine effectively.
- Frequent Jump-Starting: If you find yourself needing to jump-start your tractor frequently, even after relatively short periods of non-use, it’s likely that the battery is losing its charge and not holding it properly. This is a clear sign of a failing battery.
- Warning Lights: Modern tractors often have warning lights on the dashboard that indicate battery-related issues. If you see a battery or charging system warning light illuminated on your tractor’s dashboard, it’s essential to have the battery checked as soon as possible.
- Swollen or Leaking Battery: Physical signs such as a swollen or bloated battery case, or visible leakage of fluid from the battery, are clear indications of a failing battery. These issues are usually caused by internal damage or cell failure, which can compromise the battery’s performance.
- Old Age: Batteries have a limited lifespan, typically ranging from 3 to 5 years, depending on usage and maintenance. If your battery is approaching or exceeding this timeframe, it’s more susceptible to failure. Even if there are no obvious signs of failure, it’s a good practice to proactively replace an aging battery to prevent unexpected breakdowns.
If you notice any of these signs, it’s advisable to have your battery tested by a professional or a qualified technician. They can perform a battery load test or use specialized equipment to assess the battery’s health and determine if a replacement is necessary. Regular battery maintenance, such as cleaning terminals and ensuring proper electrolyte levels, can help prolong its lifespan, but eventual battery failure is inevitable.
Conclusion
Proper tractor spring maintenance is crucial for ensuring optimal performance and longevity. By following the eight steps outlined in this article, you can effectively clean, inspect, and maintain your tractor. Regularly checking tires, batteries, engines, hydraulic systems, brakes, and safety features will keep your tractor in top shape for the farming season ahead. Remember, prevention is better than cure when it comes to equipment maintenance.


-1.png)